How to Repair Cracks in Render


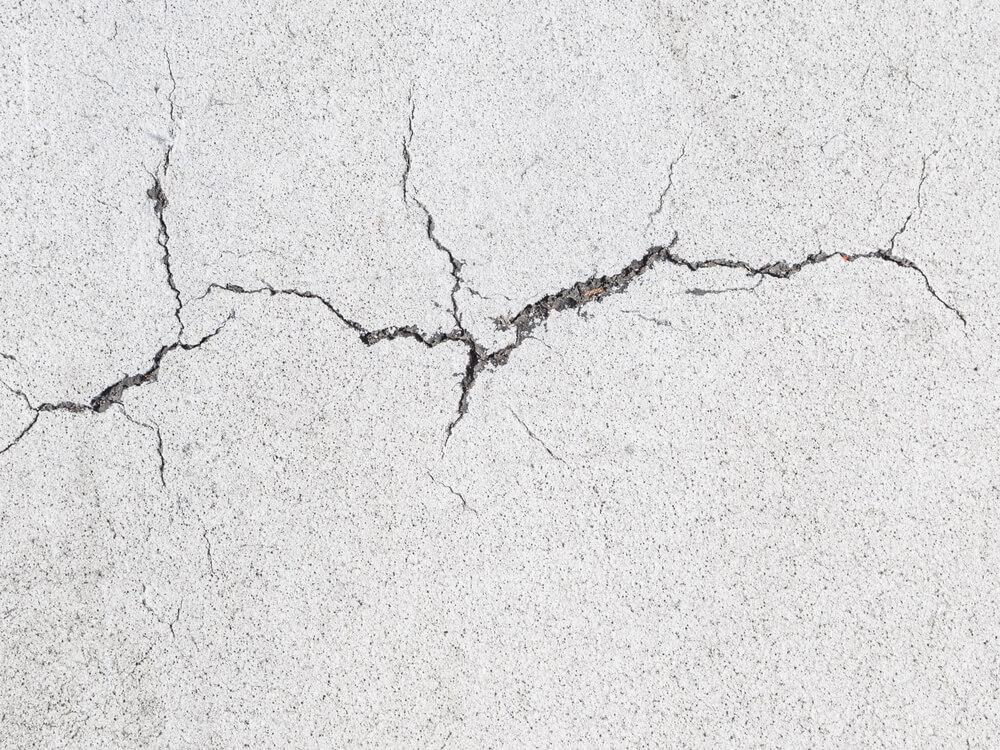
Rendering makes the exterior surfaces of our homes more resistant to natural elements that can cause damage to our property. However, due to deterioration and other natural causes, these rendered walls will eventually produce small cracks and holes that are not that pleasant to look at, explains DVH Construct Ltd, professional renderers in Kings Langley.
When this happens, it is important that you arm yourself with the knowledge of how to repair cracks that appears on your rendered walls. This will help you repair the cracks correctly enabling you to avoid any further damage and cost to your property.
According to a study published in ResearchGate, the formation of cracks in any type of walls is often unavoidable. The reasons behind the appearance of wall cracks may vary but most homeowners will eventually have to deal with this type of problem in the future.
To give you an idea of why cracks appear on rendered walls, here are some of the most common reasons:
Based on a document released by the US FHWA, all materials may expand or contract to a certain degree whenever exposed to various temperatures. When this movement is constrained by your render, it creates internal stress that can cause cracks and holes on the surfaces of your walls.
Ground movement due to earthquakes or large scale renovations that were conducted on or near your property can cause cracks on your render. These events may force the foundation of your property to move or sway, creating a chain reaction that may result in the appearance of cracks on your walls.
The expanding roots of trees that are planted near your property will generally spread and create an action that will affect either the foundation or walls of your home. This disturbance may cause stress to your property which may result in the appearance of cracks on your render walls.
Moreover, plant seeds that are carried through bird droppings may grow in small wall fissures that will eventually cause severe crackings if not removed in time.
No matter how strong your render is, in time, it will deteriorate and become weak. The assortment of weather conditions that it faces all year round and the different activities conducted in your homes will weaken the durability of your walls. This weakening effect will result in the formation of cracks on your rendered wall over time.
Whenever you notice even a small crack on your render walls, it is important that you perform the necessary actions needed to repair the crack immediately. These cracks, however small it is, will allow water to penetrate your underlying structure which can cause serious damage to your property in the future.
Over time, if not corrected, these small cracks will evolve into a major structural problem that will be more difficult and costly to repair.
The work needed to repair cracks on render can vary between becoming a major renovation work to being a small and limited cosmetic facelift job on your walls.
To determine the workload needed to repair the cracks, the initial step that you need to do is to assess the damage on your render. You can do this by tapping the rendered walls using your knuckles or other tools to check whether the render is still firmly attached to your wall.
If the sound produced by your wall tapping is solid then it means that the render is still attached and you can simply fill up the cracks. However, if the sound is hollow, then it means that the render is loose and you need to perform major renovation work that will force you to remove and replace all the cement render on your wall.
On the other hand, according to an article from Reader’s Digest, if the crack that you notice on your render walls turns out to just be a hairline crazing then you don’t need to fill it up. Otherwise, you will need the following tools and materials to fill up the cracks on your render:
Now that you have the proper tools and materials to repair the cracks on your render, the next step that you need to do is to clean the cracks using your filling knife. You should clean the cracks while turning it into a V-shaped figure that is able to secure the filler that you will apply later on in order to prevent the cracks from opening again.
You can alternatively use a chisel and a small sledgehammer or club hammer to clean the cracks if it makes it easier for you to accomplish this task.
After cleaning the cracks, use your brush to clear out all the remaining dust and fragments inside the V-shaped cracks that you have created. Moisten the hole using your sponge or small cloth that was dipped on water and apply the PVA adhesive to strengthen your filler’s adhesion to the wall.
Press your rendering mixture or filler into the cracks with the help of your filling knife. Make sure the hole is filled properly, preventing any air pockets to form inside the hole.
Level the rendering mixture or filler with the wall surface using your trowel and let it dry properly before painting or redecorating it.
Rendered walls are strong and resistant to natural elements. However, due to several reasons mentioned above, cracks will eventually form on your render walls. If this happens, you need to immediately repair these cracks by following the given steps above in order to prevent further damages that can affect the value of your property.